Printable 3D Model
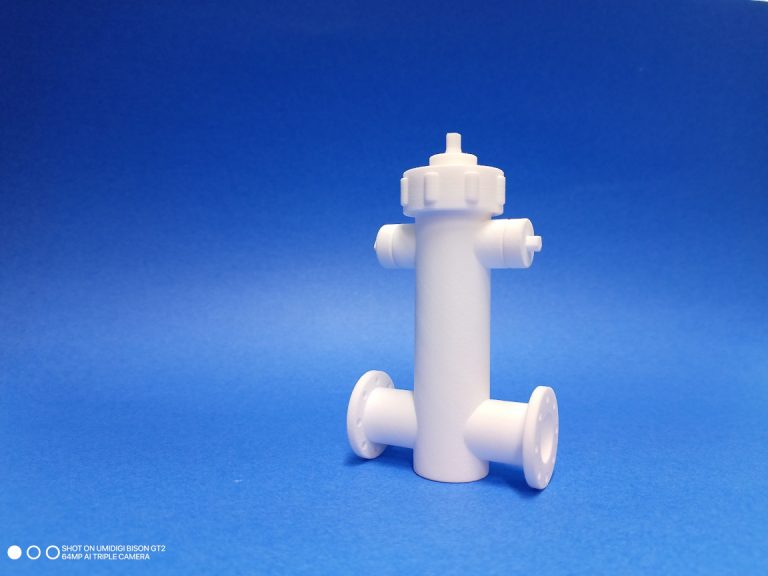
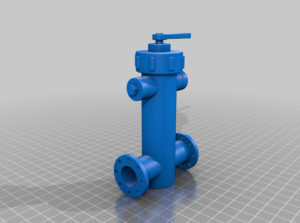
Welcome to the download page for the printable 3D model of the Hydrant For Electric Vehicles! Here, you’ll find everything you need to print, assemble, and operate the 3D model to better understand the revolutionary technology discussed in the book.
Uncover the inner workings!
Explore our translucent 3D models of the hydrant valve, allowing an unique ‘see-through’ experience. Witness the intricate assembly of components and understand how this mechanism precisely controls water flow, a vital element in hydroelectric vehicle systems.”
Experience the mechanics in motion!
Dive into our translucent animation showcasing the wrench in action, turning the hydrant bolt. Witness the mesmerizing movement as the action mechanism operates, demonstrating the opening and closing of the valve. Explore this dynamic display, revealing the precision and functionality behind the mechanism’s operation, offering a captivating insight into the hydrant’s functionality.”
Parts List and Downloads
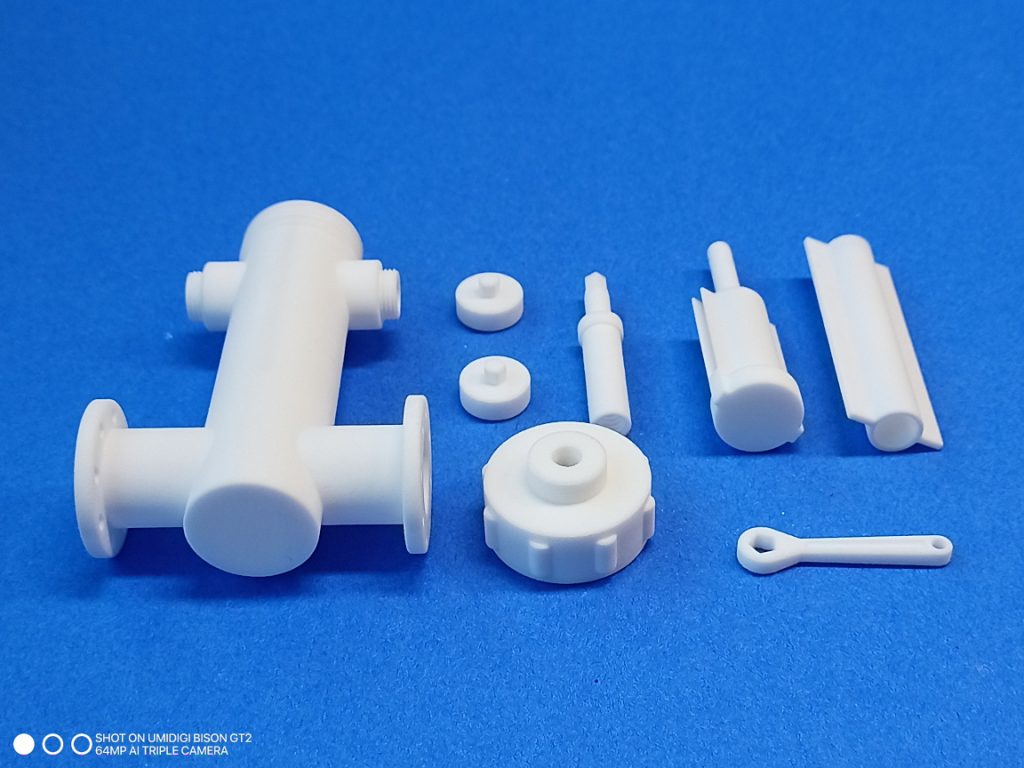
Comprehensive list of custom parts for the hydrant valve, designed for electric vehicle utilization. Download and assemble this 3D printable model to explore the inner workings and functionalities of each integral part, crucial for effective water flow control in hydroelectric vehicle systems.
Easily access individual parts!
Enhance your experience!
Click on the view icon next to each component to explore it in an advanced 3D online viewer. Immerse yourself in detailed views, enabling zoom, pan, and tilt functionalities for an in-depth examination of each part. Dive into a closer inspection of every component’s design and details, providing a comprehensive understanding of the hydrant’s assembly.
Hydrant Valve 3D Model Parts
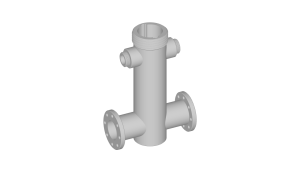
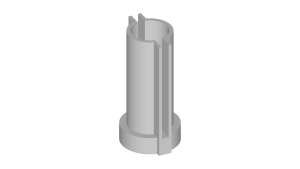
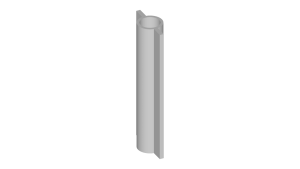
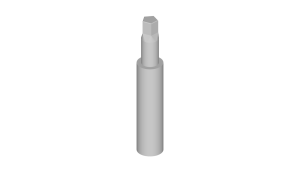
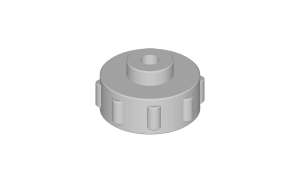
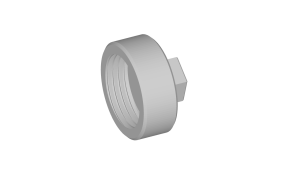
This table provides detailed information, images, file sizes, and direct download links for each component, facilitating easy access and assembly of the model.Assembly Instructions
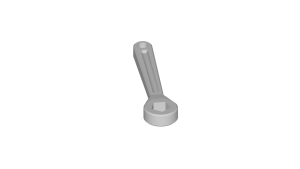
- Prepare Parts: Gather the shell, plunger, caps, bolt, head, wall, and wrench.
- Insert Plunger: Lower the plunger into the track within the inner walls of the shell.
- Incorporate Dividing Wall: After inserting the plunger, add the dividing wall into the valve’s cavity, ensuring it fits into the grooves on the inner shell.
- Secure Bolt and Head: Screw the bolt into the plunger, aligning properly. Fasten the head cap onto the valve, securing all parts in place.
- Attach Nozzle Caps: Thread the nozzle caps onto the respective nozzles, ensuring a tight seal for the shell’s cavity.
- Final Inspection: Ensure all components are securely assembled with no loose fittings or misalignment.
- Operational Check: Confirm smooth movement of the assembled parts. Use the wrench to test the plunger’s capability to raise and lower.
Your hydrant valve assembly, including the attached nozzle caps, is now ready for operation!
